|
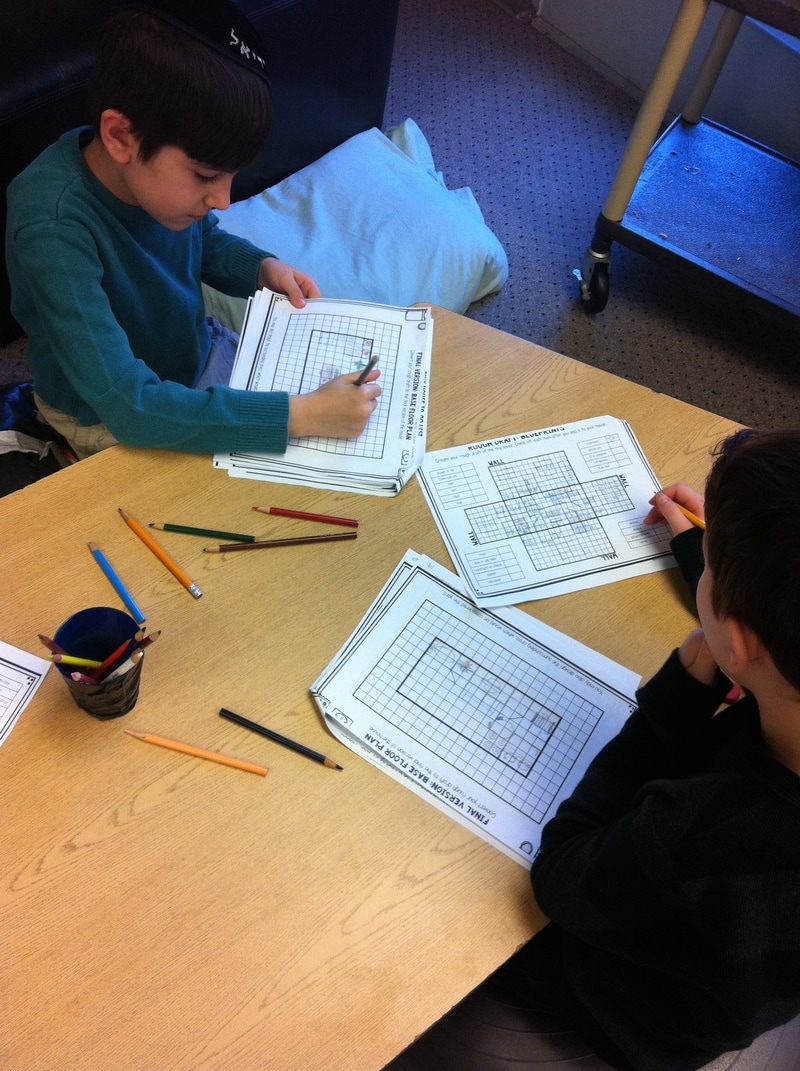
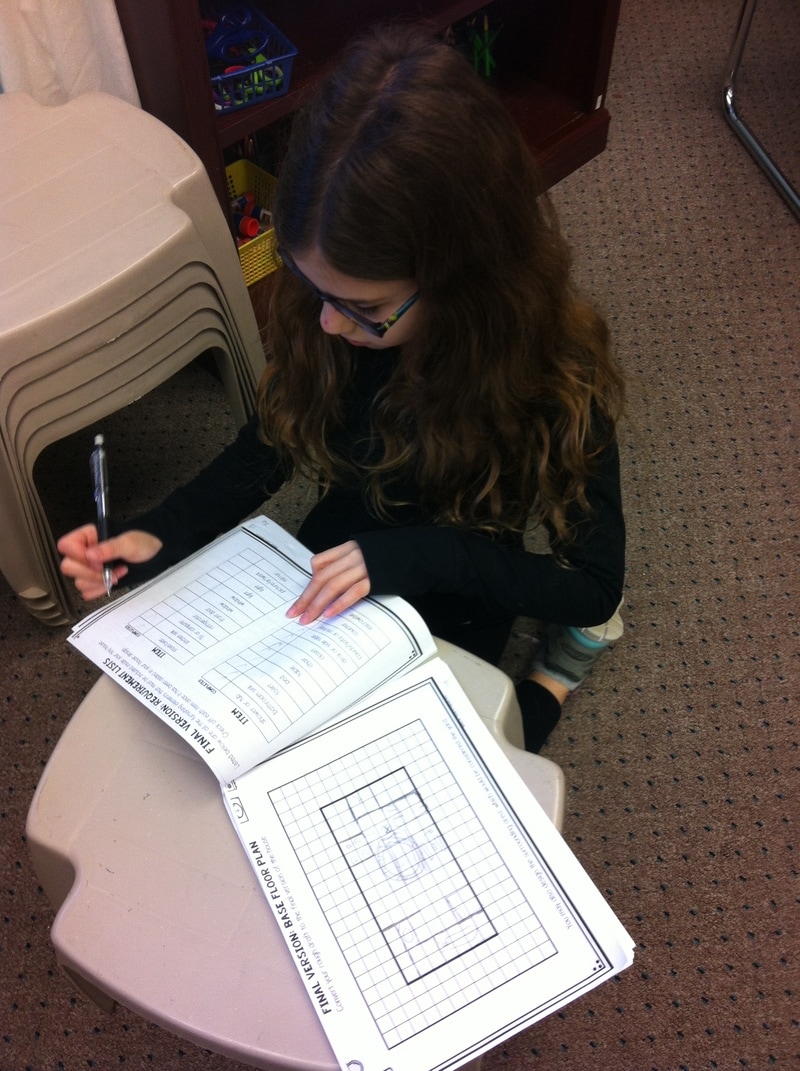
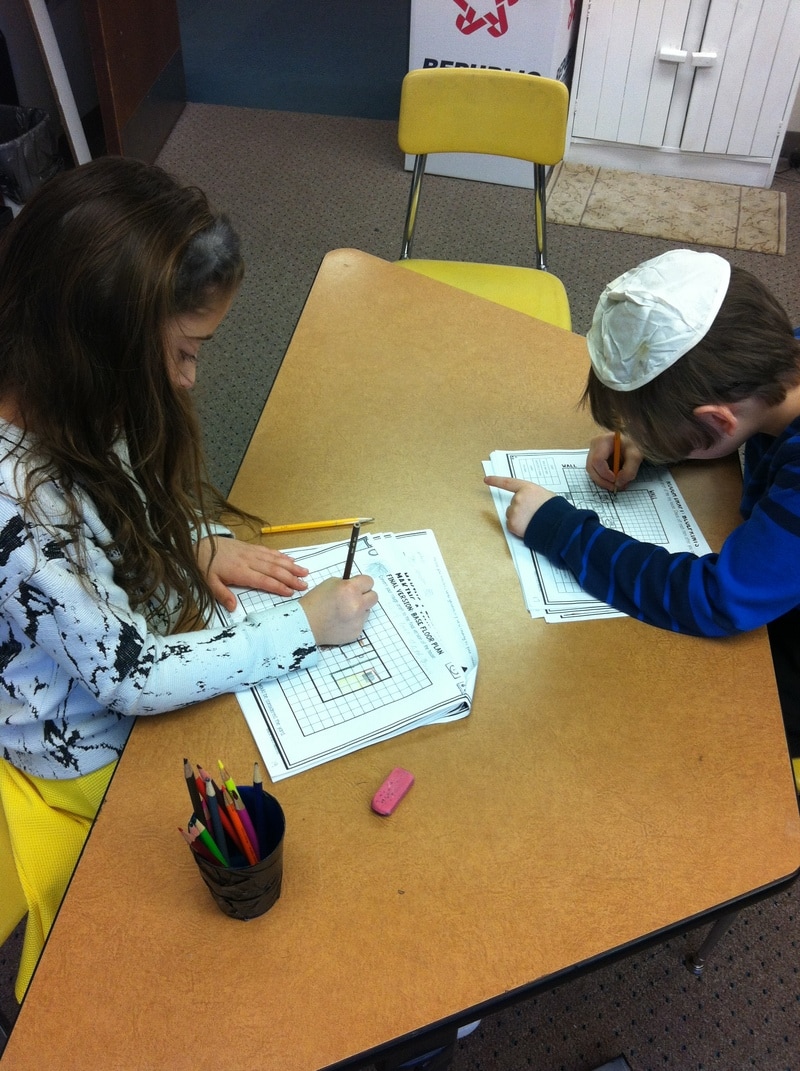
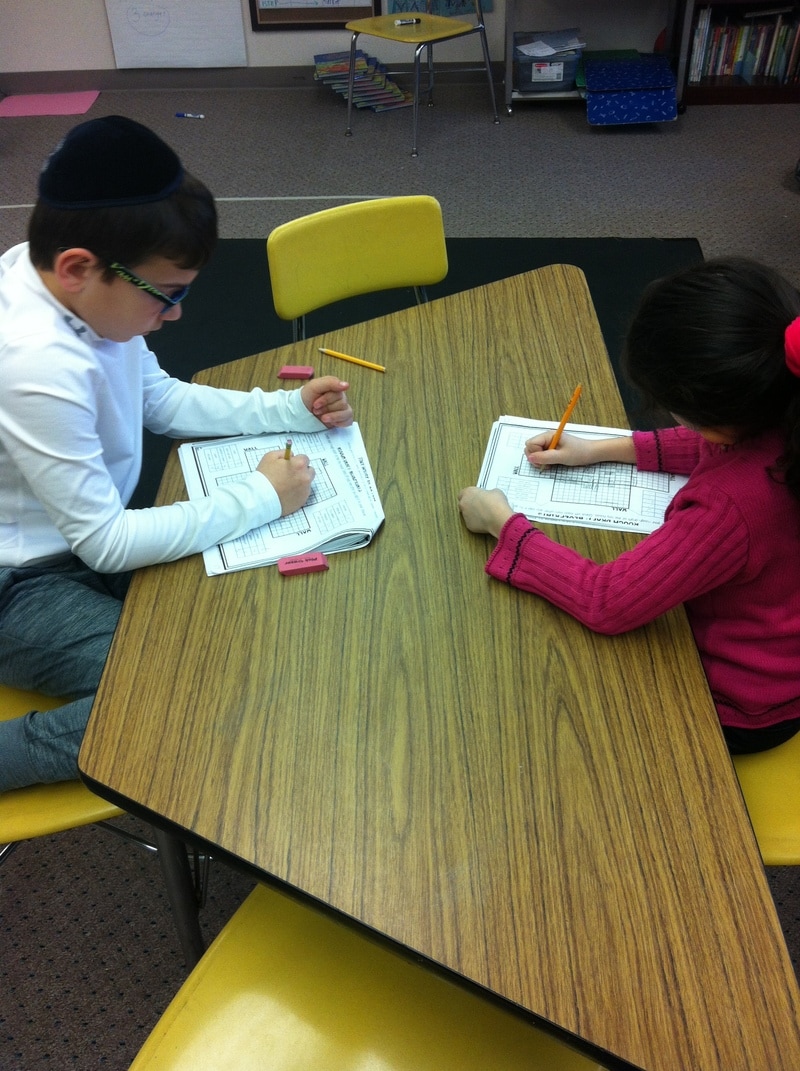
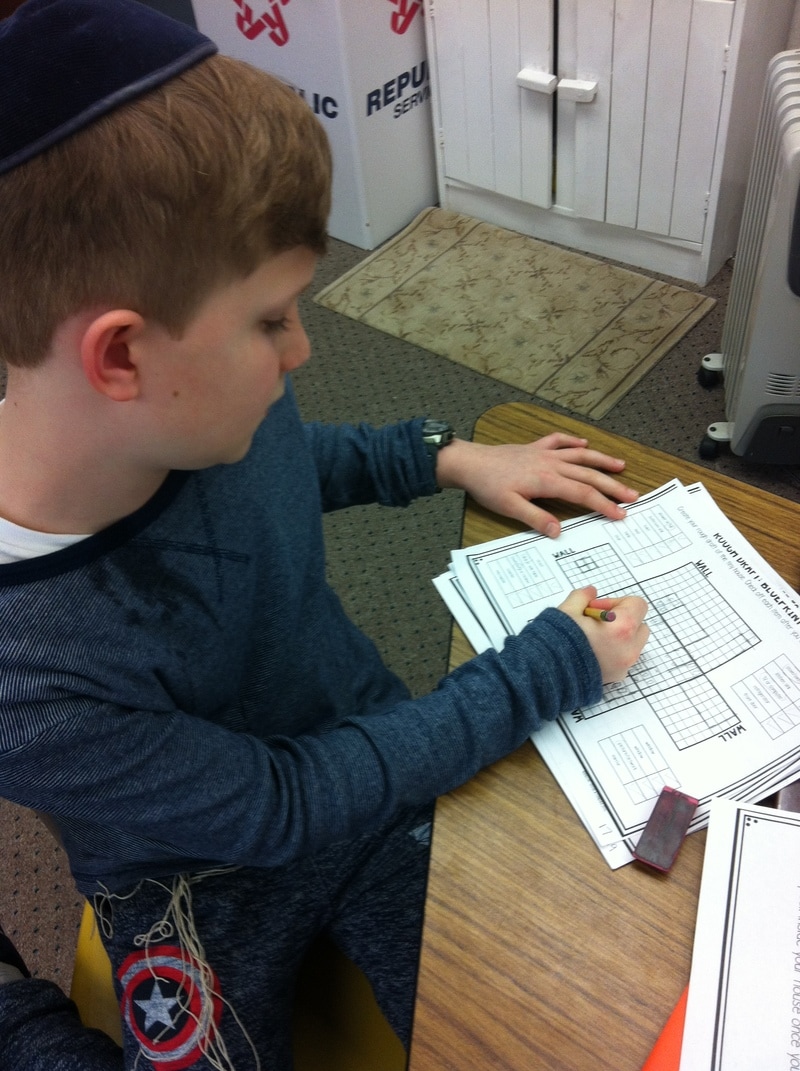
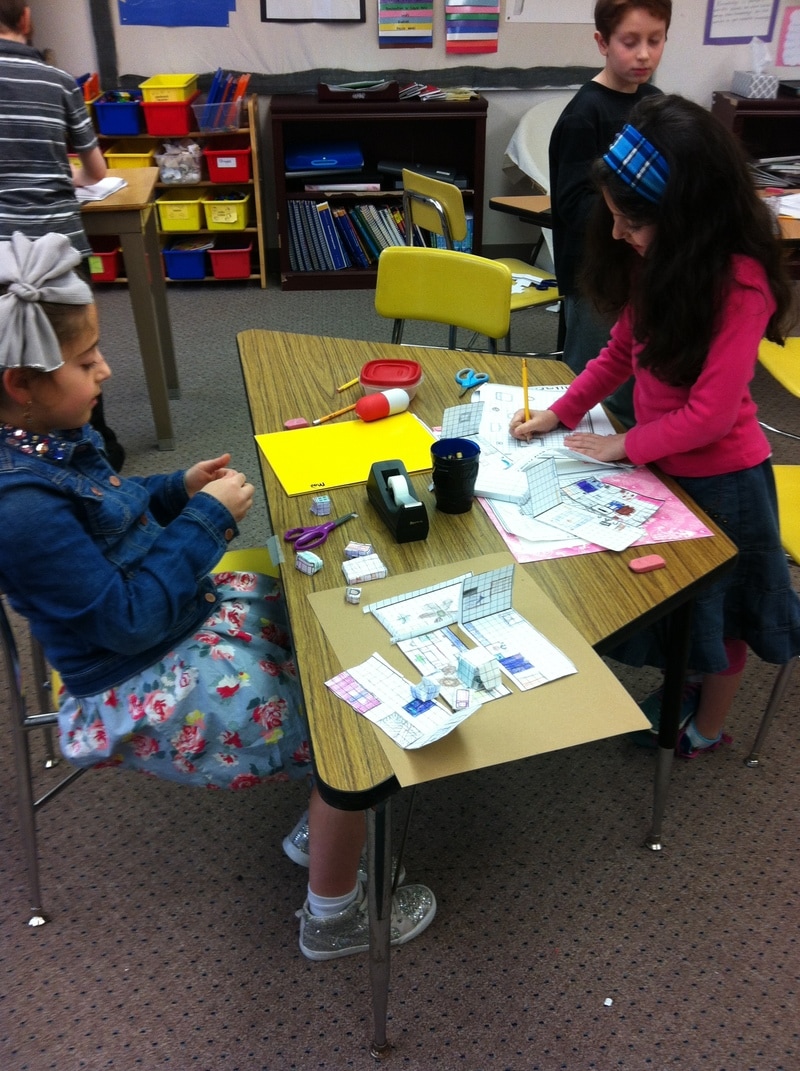
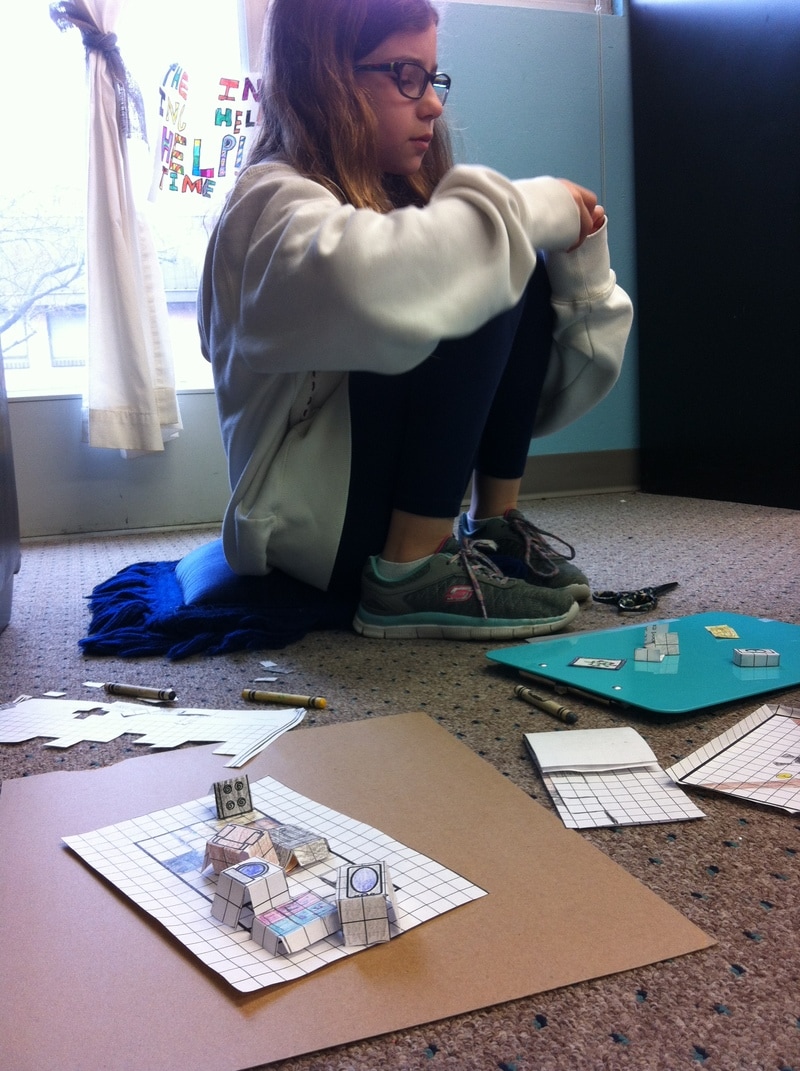
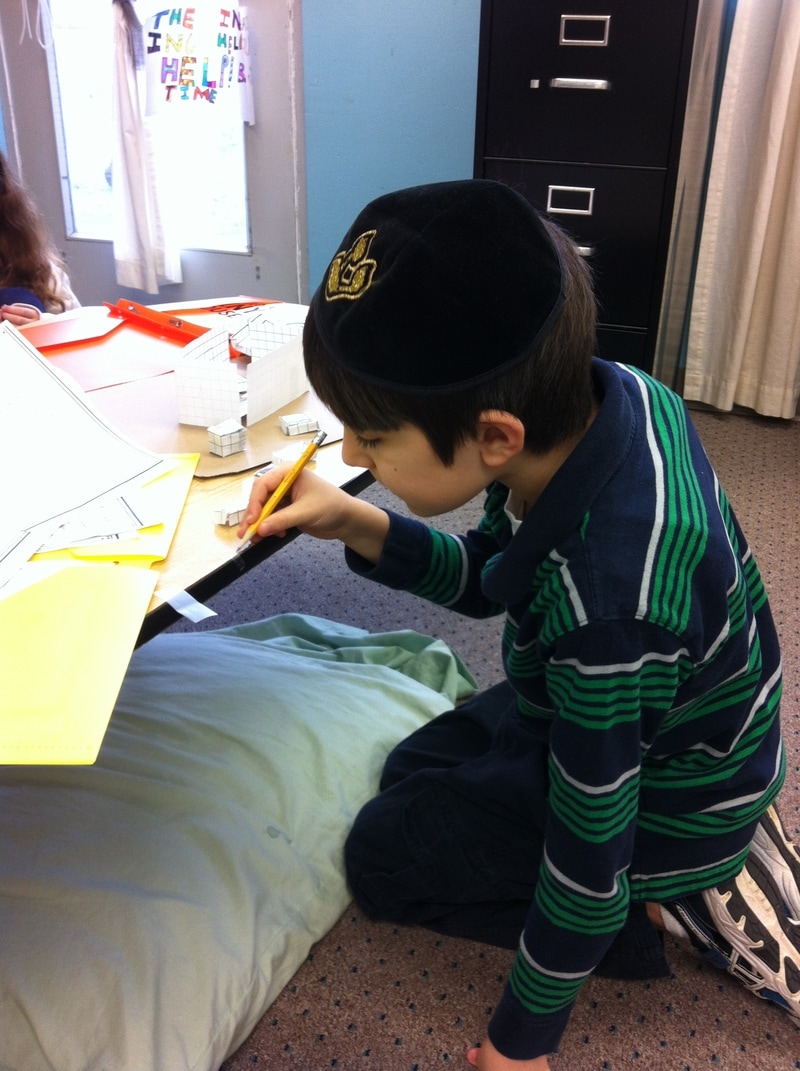
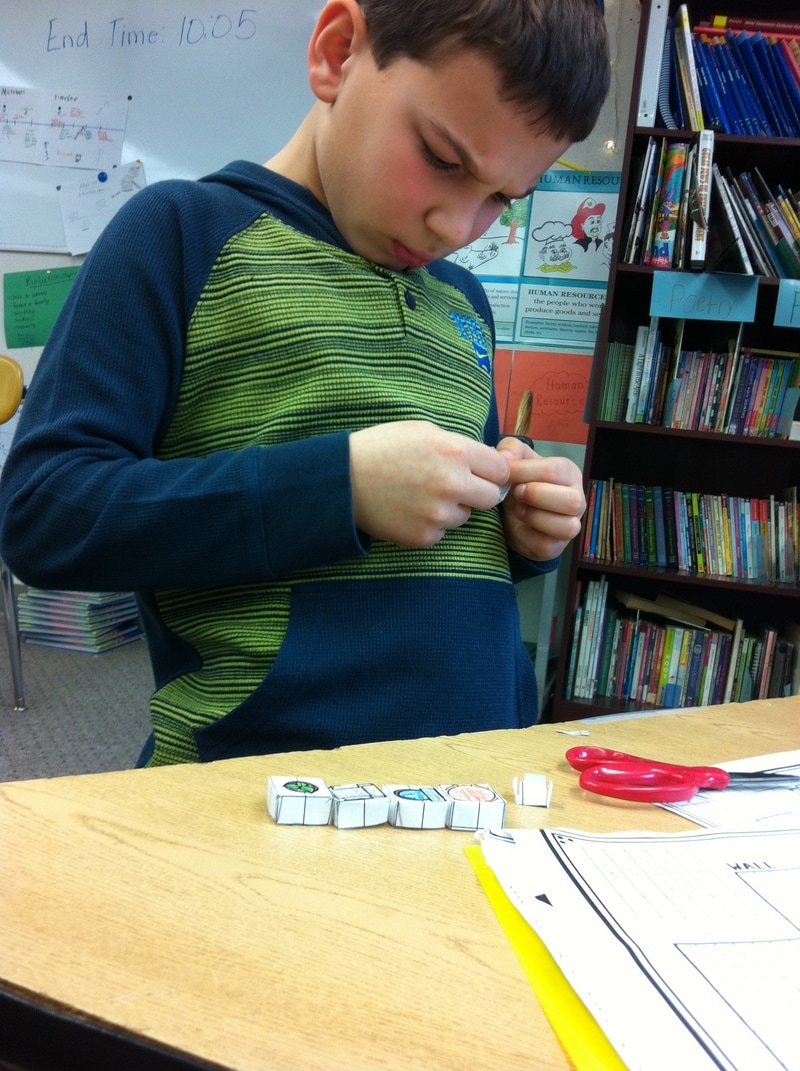
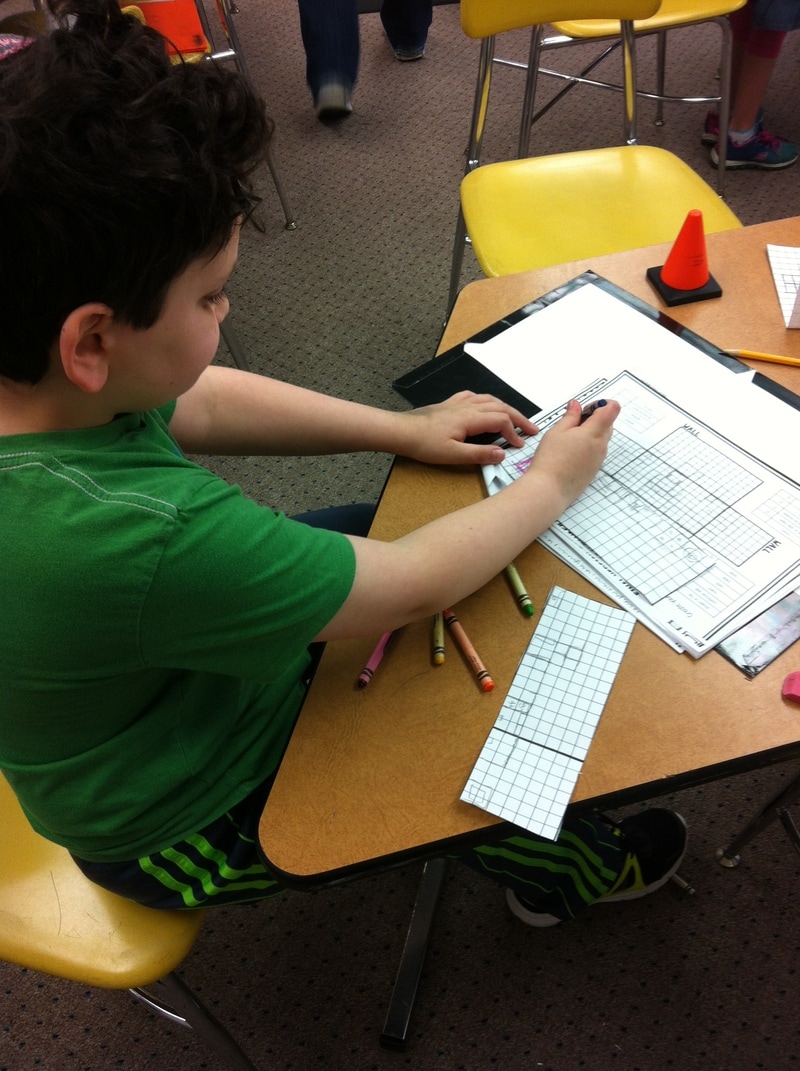
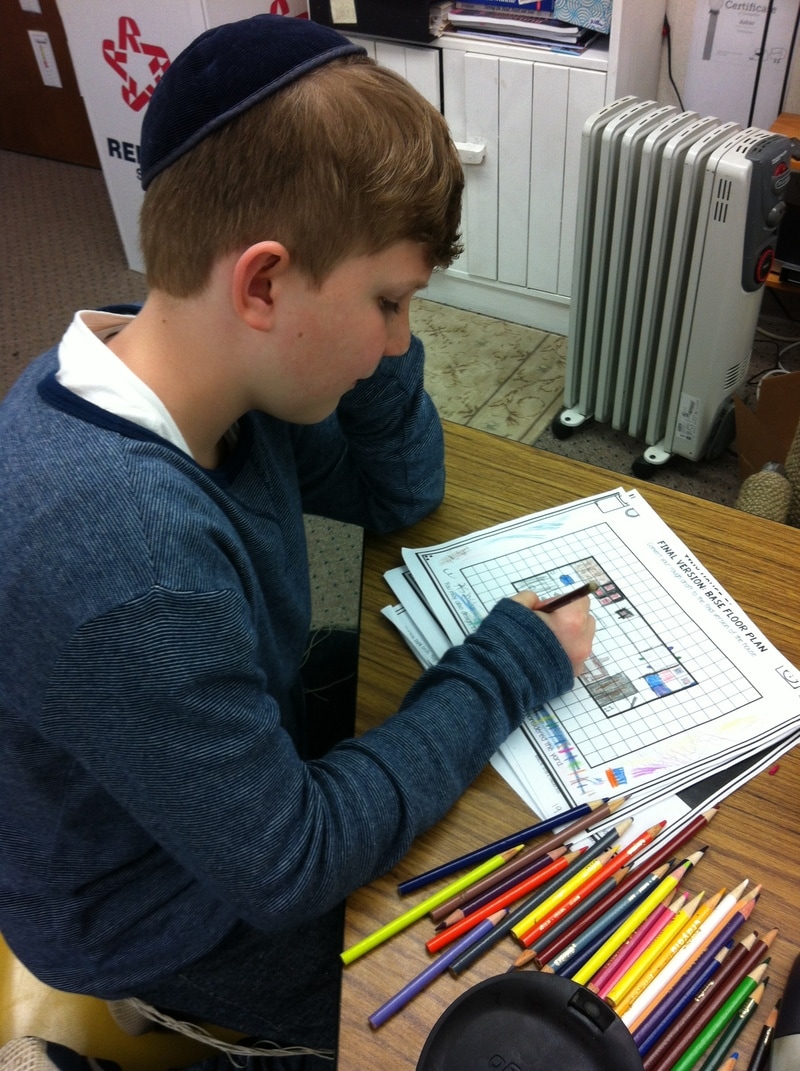
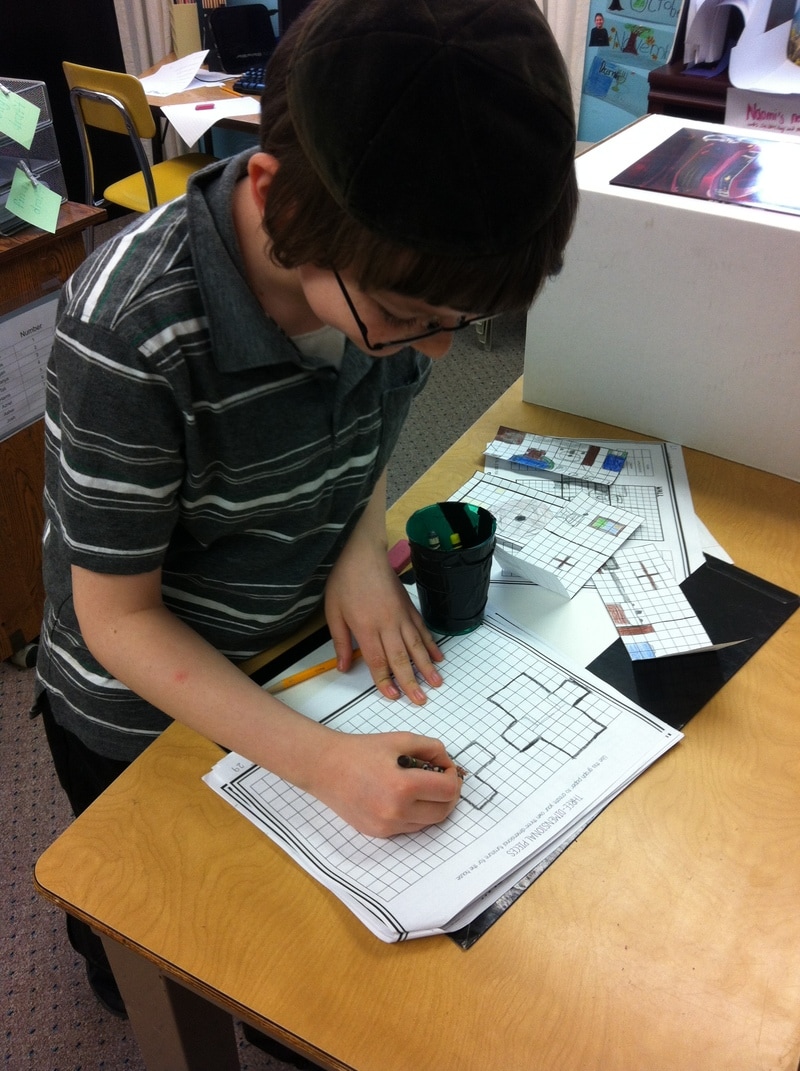
After 6 weeks of exploration and study, the 3rd graders have mastered area and perimeter. To put their knowledge into practice, they are currently working to build a tiny house! Not seeing the correlation? Keep reading! Architecture and construction are two fields in which area and perimeter are crucial. This is especially true in the tiny house industry, where designers spend much of their time negotiating how to fit all of life's necessities into such a small space. This negotiation created a natural problem-solving opportunity for the students: Imagine you are an architect. A client gives you a list of furniture requirements that they would like to fit into a 17 x 8 tiny house. Can you make this work? 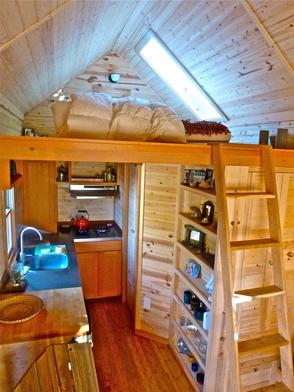 After watching a few videos about the construction and functionality of tiny homes, the 3rd graders were so excited to get started! Built (pun intended) into this project are many iterations. The students first had to design the base and the walls of their house, keeping in mind the given length and width of each piece of furniture. When making a blueprint, designers draw their base from the perspective of a bird's-eye view. Imagining their house from this perspective was challenging for the students at first, but they got the hang of it. To complicate things even further, the walls are drawn from a front-view. This means that if an oven is up against a wall, the base would show the stove top, while the wall adjacent to it shows the front of the oven. This spacial-awareness practice was an unforeseen benefit of the project. The next step was to draw the final draft of the blueprint. This allowed the students to work through any issues they had on the 1st draft and perfect the design of their house. Many students are on the 3rd step, which is designing and creating 3D furniture. While the length and width of the furniture has been given to them, they get to choose the height. The height of each piece of furniture that touches a wall has to match what they drew on the final draft of their wall. To create 3D furniture, the students start with a bird's-eye view of the piece of furniture, then they draw a "net" along each side (imagine a lowercase "t" with the drawing in the middle and a long strip coming off of each side). Once cut out, the net is folded down and taped to create a 3D box-like piece of furniture. The students must plan carefully, as the net is what determines the height of the object. Creating and placing the 3D furniture is helping the students make sense of their blueprints and see the purpose of designing from different perspectives. In the end, the students will have a 3-dimensional model tiny home with a fully-designed interior and exterior. They will then find the area and perimeter of each part and answer interview questions from the point of view of themselves as architects. More to come!
0 Comments
Leave a Reply. |
3rd GradeLittle people, big minds. Archives
May 2019
Categories |
 RSS Feed